furnace installation is a key home improvement project, particularly for homeowners in colder climates. A properly installed furnace not only ensures consistent warmth but also improves energy efficiency, safety, and the overall lifespan of the system. This guide will walk you through the steps of furnace installation, from choosing the right furnace to the process itself, and maintenance tips for longevity.
1. Importance of Furnace Installation
Furnace installation is essential because it directly impacts your home’s comfort, energy costs, and safety. A furnace that is poorly installed or not the right size for your home can lead to:
- Inefficiency: Over time, a furnace that isn’t installed properly or sized correctly will use more energy to heat your home, driving up utility costs.
- Safety Hazards: Gas leaks, carbon monoxide issues, or fire risks can arise from improper installation. Professional installation reduces these risks significantly.
- System Failures: Improper installation can cause the furnace to break down prematurely, leading to expensive repairs or replacements.
2. Choosing the Right Furnace
Before proceeding with installation, selecting the right furnace is crucial. Consider the following:
- Size: A furnace that is too small won’t effectively heat your home, while one that is too large will cycle on and off too frequently, leading to wasted energy. A professional installer can help determine the correct size based on your home’s square footage and other factors.
- Fuel Type: Most furnaces operate on natural gas, propane, oil, or electricity. Gas furnaces are the most common due to their efficiency, but you should choose based on fuel availability in your area.
- Energy Efficiency: The efficiency of a furnace is measured by its Annual Fuel Utilization Efficiency (AFUE) rating. Higher ratings indicate better efficiency and lower heating costs.
- Advanced Features: Consider features like variable-speed blowers, multi-stage heating, or smart thermostat compatibility for improved comfort and efficiency.
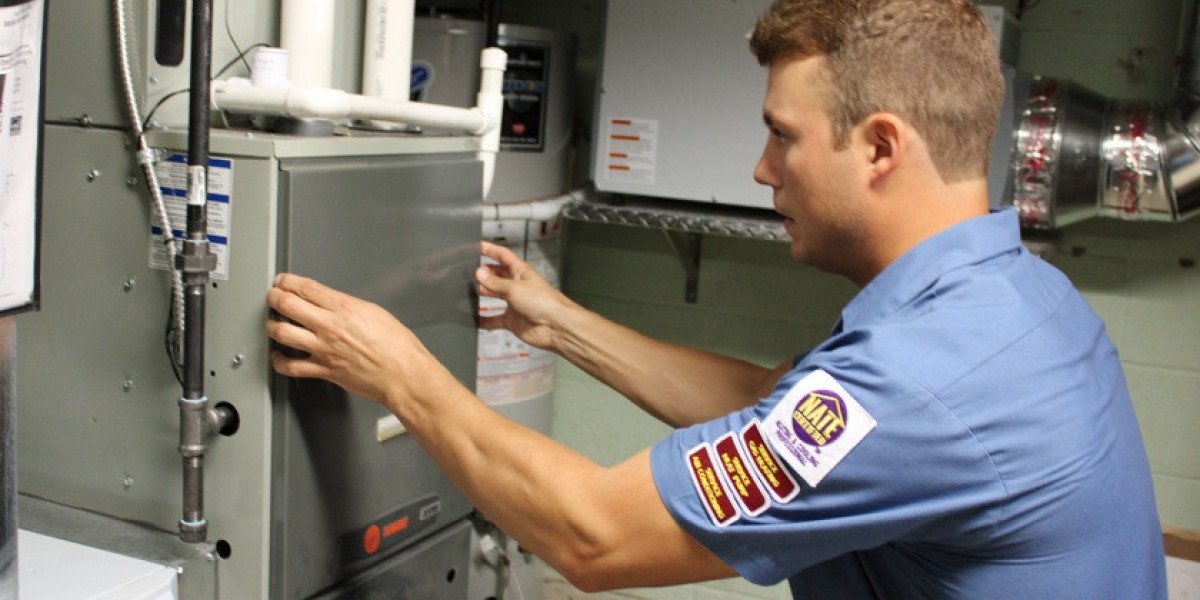
3. The Furnace Installation Process
Furnace installation is a multi-step process that should be handled by a licensed HVAC technician to ensure safety and efficiency. Here’s what you can expect:
Step 1: Pre-Installation Assessment
- Home Evaluation: The technician will assess your home’s heating needs, including its size, insulation, ductwork, and the existing heating system. This helps in choosing the right furnace and ensuring it fits well within the space.
- Permits and Codes: Local building codes often require permits for furnace installation. The technician will ensure all regulations are followed, including venting and gas line safety requirements.
Step 2: Removing the Old Furnace (if necessary)
If you’re replacing an old furnace, the technician will:
- Disconnect and remove the old unit, ensuring it is done safely without damaging existing ductwork or wiring.
- Clean up any debris or parts left from the old furnace.
Step 3: Installing the New Furnace
- Positioning: The new furnace is positioned in place, typically in the basement, attic, or utility room, depending on the home’s layout.
- Ductwork and Venting: The furnace is connected to the home’s ductwork, ensuring proper airflow throughout the home. Venting is installed to direct combustion gases safely outside.
- Fuel and Electrical Connections: The technician will connect the furnace to the gas line (if using gas), and electrical connections will be made to power the furnace’s blower and thermostat.
- Thermostat Setup: The technician will install or reconfigure your thermostat for precise temperature control, ensuring it works efficiently with the furnace.
Step 4: System Testing
Once the furnace is installed:
- Airflow: The technician will test the airflow to make sure it’s adequate for efficient heating.
- Gas Pressure and Combustion: For gas furnaces, the technician will check gas pressure and inspect the combustion process to ensure it is safe.
- Safety Checks: The system is inspected for any potential hazards, such as gas leaks or improper venting.
- Temperature Calibration: The thermostat will be calibrated to ensure accurate readings and temperature control.
4. Post-Installation Tips
Once the furnace is installed, there are several steps you can take to ensure its efficiency and longevity:
- Regular Maintenance: Schedule annual furnace maintenance to check filters, clean burners, and inspect the system for potential issues. This will keep your furnace running smoothly and extend its life.
- Change Filters: Replace the air filter regularly to maintain efficient airflow and prevent the system from working harder than necessary.
- Use a Programmable Thermostat: A programmable thermostat can optimize your furnace’s performance by adjusting temperatures based on your schedule, reducing energy consumption.
5. DIY vs. Professional Furnace Installation
While some homeowners may be tempted to tackle furnace installation as a DIY project, it’s highly recommended to hire a licensed HVAC professional. Furnace installation involves handling gas lines, electricity, and potentially dangerous components, making it a job for an experienced technician. Hiring a professional ensures that the furnace is installed safely and efficiently, meeting all code requirements.
Conclusion
Furnace installation is an essential part of keeping your home warm, safe, and energy-efficient. By choosing the right furnace and hiring a skilled professional for installation, you ensure optimal comfort and avoid costly issues in the future. Make sure to maintain your furnace regularly, and you’ll enjoy years of reliable heating.